How to Maintain an RV Roof and Prevent Costly Leaks
Published How we research
Know your roof type first, rubber (EPDM or TPO), fiberglass, or aluminum, since cleaners and sealants that work on one can damage another. Inspect regularly at every point something penetrates the surface, vents, AC, antennas, edges, looking for cracks, gaps, or peeling sealant. Clean a few times a year with a cleaner matched to your roof type, avoiding harsh solvents on rubber. Reseal at the first sign of aging sealant with the appropriate product for horizontal or vertical surfaces, since this prevents most leaks before they start. Watch inside the rig for soft ceiling spots, stains, or musty smells as early warning signs of water intrusion. Water intrusion is one of the most damaging and expensive problems an RV can suffer, and it almost always starts at the roof. The good news is that roof maintenance is straightforward and inexpensive compared to the repairs that neglect invites. A little routine attention keeps your rig dry, protects its value, and spares you the heartbreak of soft floors and rotted walls.
Products from this article
The highest-scoring picks from the buying guides this article links to. Scores are our editorial assessment, not customer ratings.
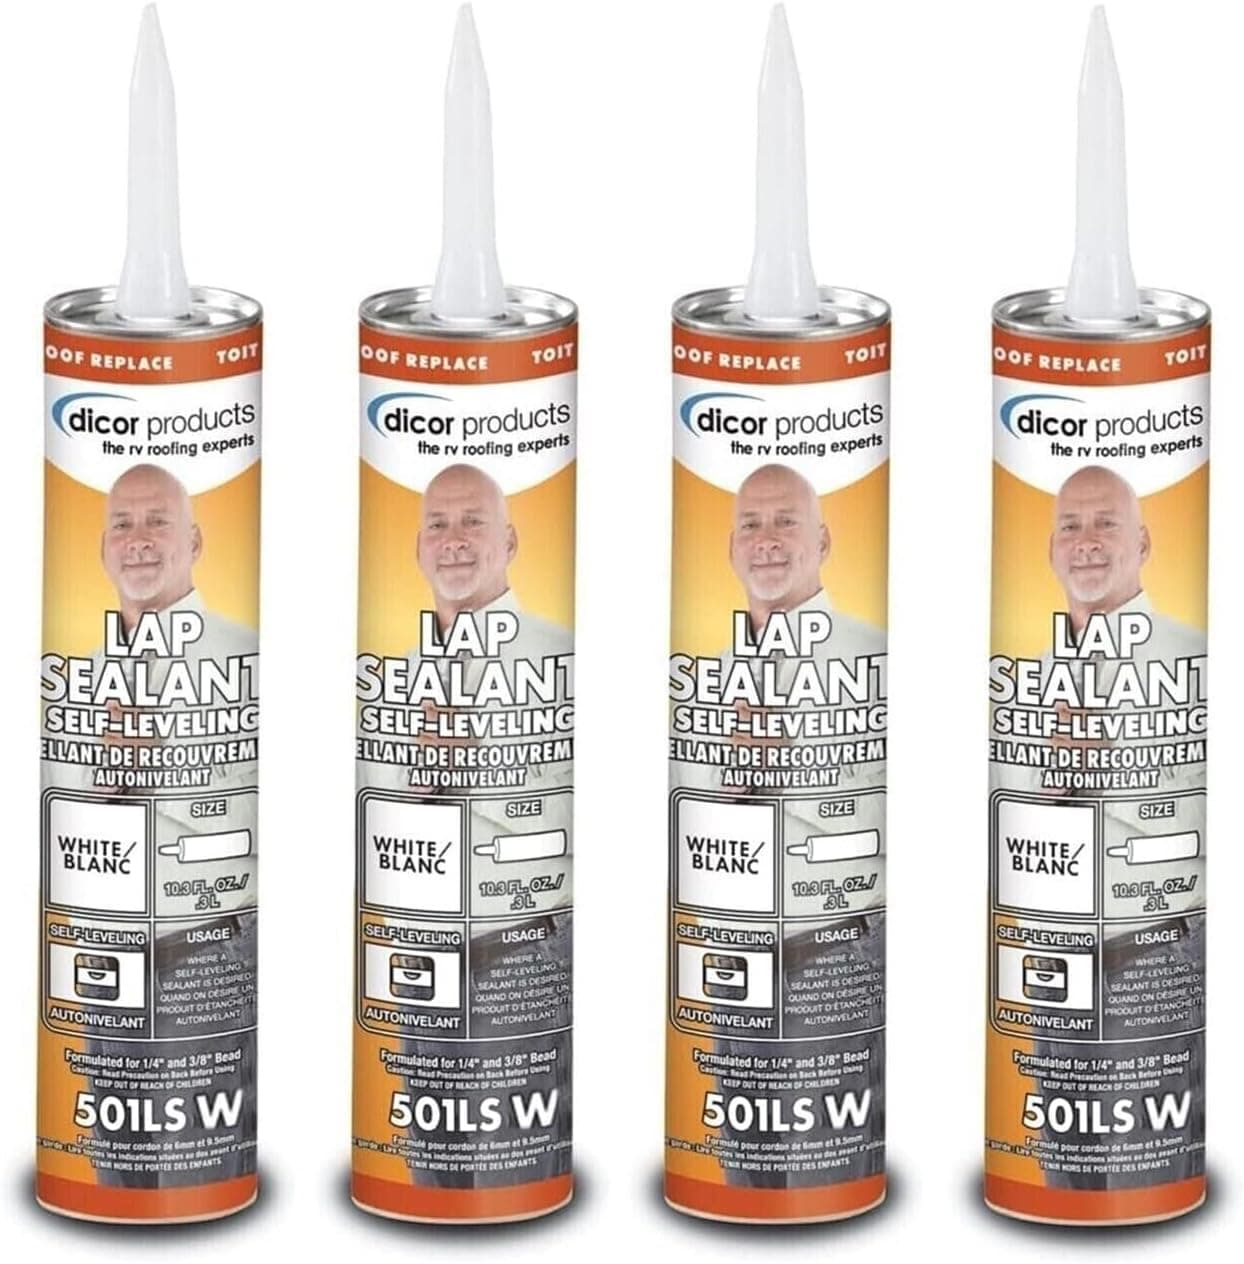
+ Dicor is the standard sealant many RV makers use on rubber roofs
From our guide: Best RV Roof Sealant
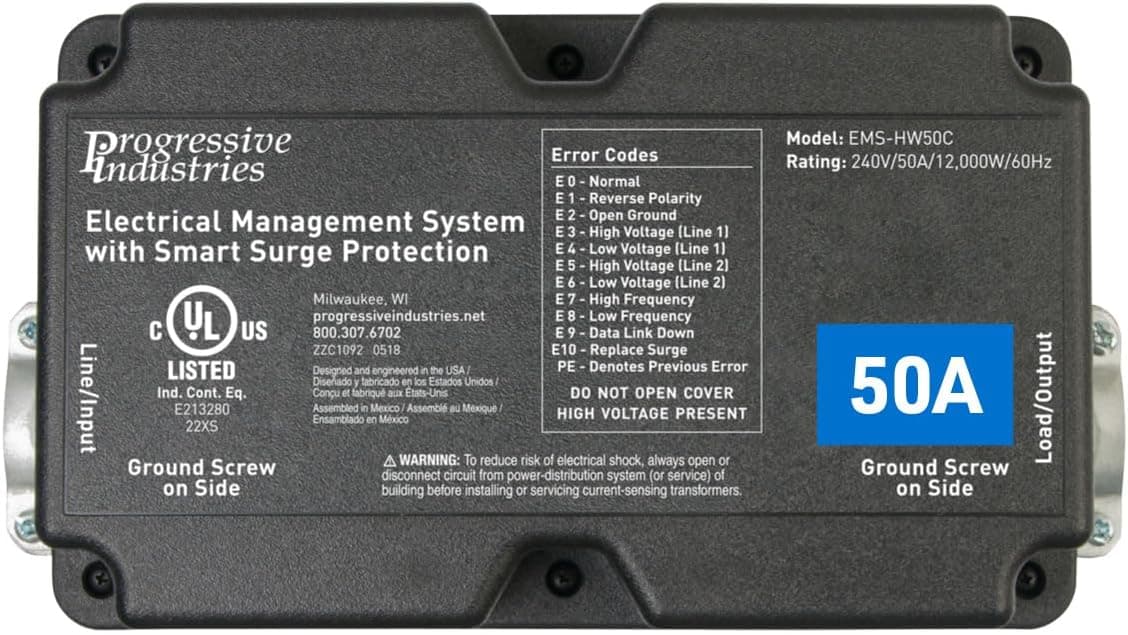
+ Hardwired install protects the rig without a unit to lock at the pedestal
From our guide: Best RV Surge Protectors
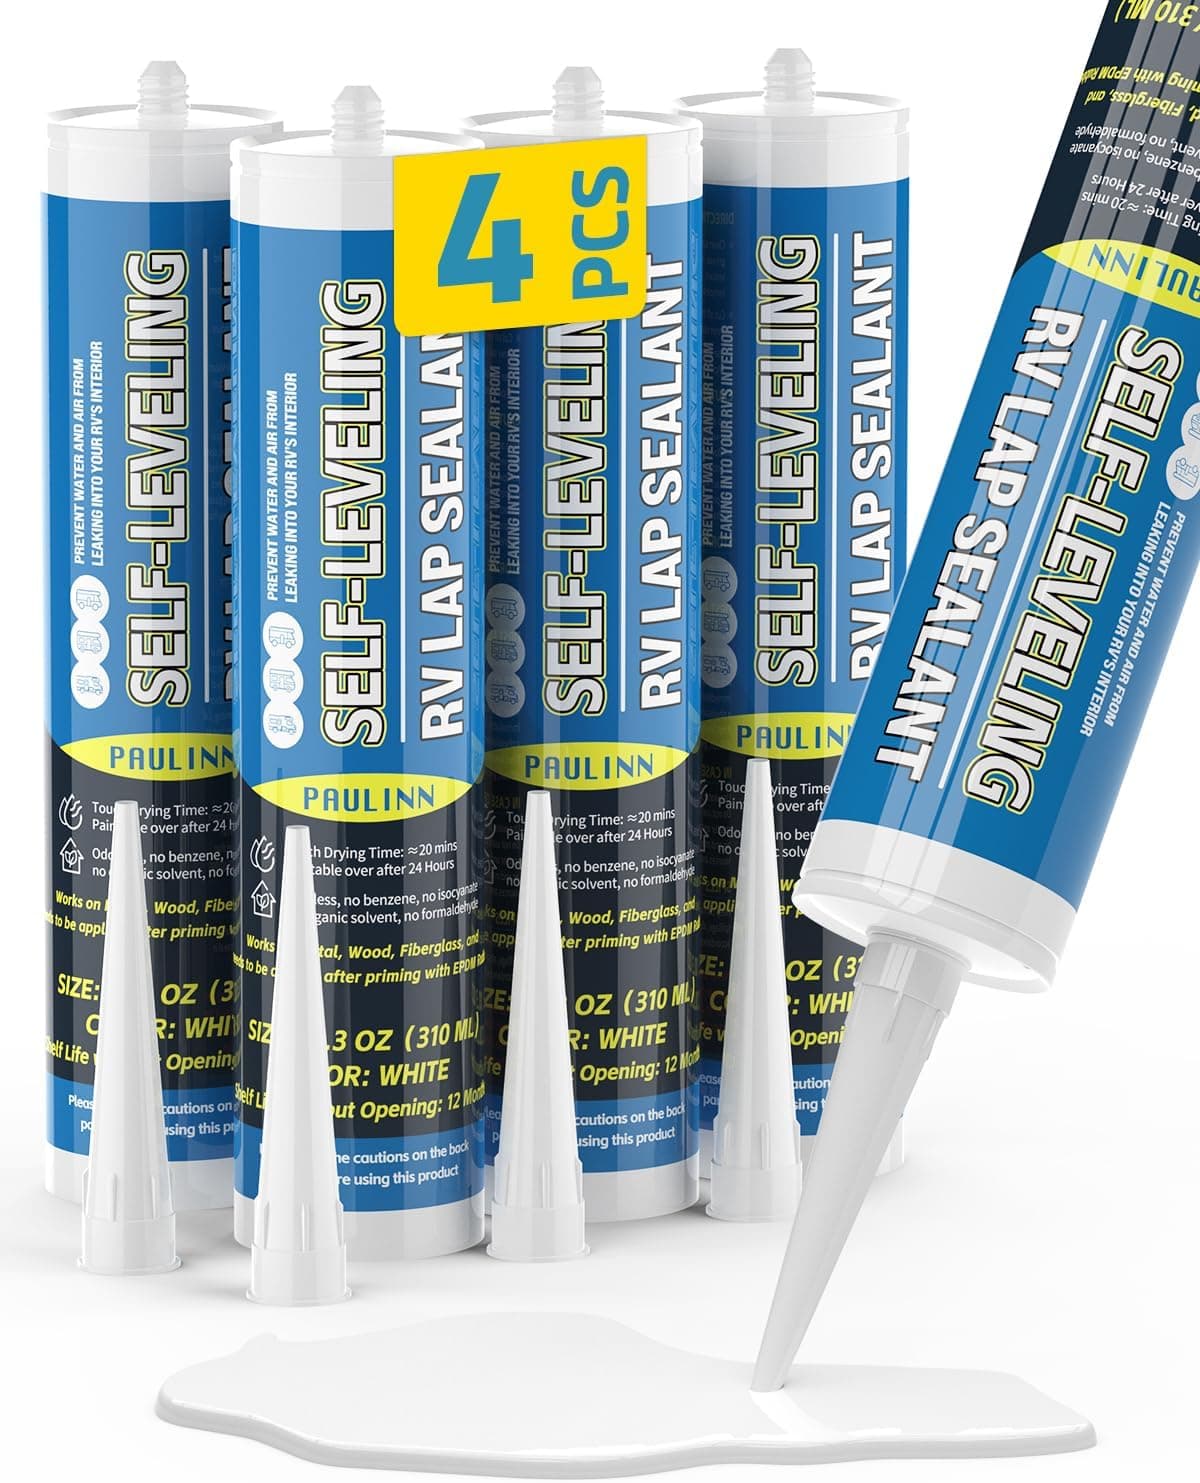
+ No smell formula is easier to work with than solvent caulks
From our guide: Best RV Roof Sealant
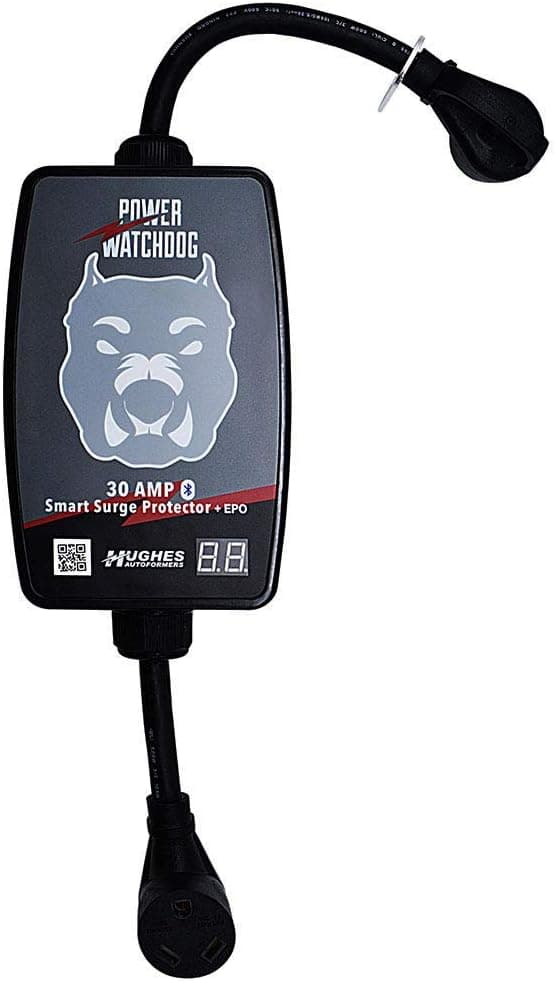
+ EPO feature cuts power on dangerous voltage, not only on surges
From our guide: Best RV Surge Protectors
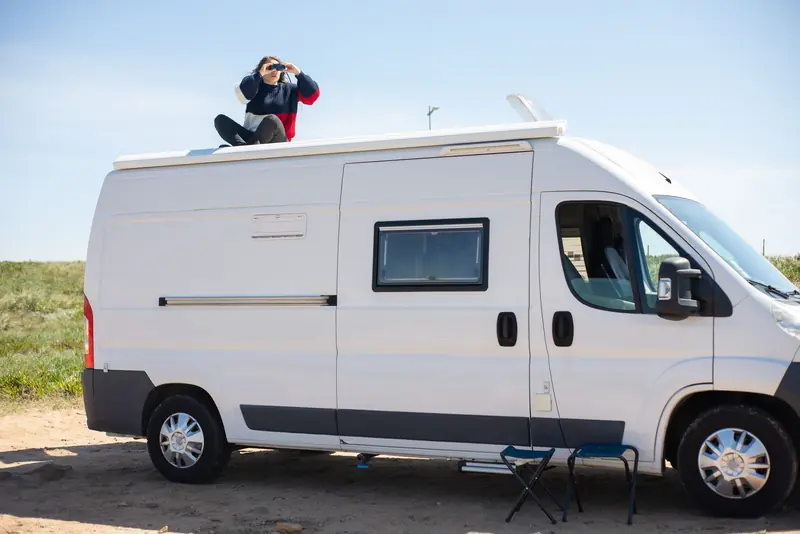
Start by knowing what kind of roof you have
Start by knowing what kind of roof you have, because care differs. Many RVs use a rubber membrane, either EPDM or TPO, while others have fiberglass or aluminum. Rubber roofs are common and durable but need the right cleaners and sealants, since some products can harm the membrane. Check your owner manual or the manufacturer guidance so you use compatible materials and do not accidentally cause damage.
Regular inspection is the heart of roof care
Regular inspection is the heart of roof care. Get up on the roof safely, using a sturdy ladder and watching your footing, and look closely at every spot where something penetrates the surface. Vents, the air conditioner, antennas, skylights, and the edges are where sealant lives and where leaks begin. You are looking for cracks, gaps, peeling, or any sealant that has pulled away from the surface.
Cleaning comes next, and it does more than improve looks
Cleaning comes next, and it does more than improve looks. Dirt, tree sap, and grime trap moisture and can degrade the roof over time. Wash the roof a few times a year with a cleaner made for your roof type and a soft brush, rinsing well. Avoid harsh solvents and petroleum based products on rubber roofs, since they can break down the membrane and shorten its life dramatically.
Resealing is the maintenance that prevents most leaks
Resealing is the maintenance that prevents most leaks. Over time the sealant around vents and edges dries, cracks, and shrinks. When you spot aging sealant, clean the area and apply a fresh bead of self leveling lap sealant on horizontal surfaces or the appropriate non sag product on vertical seams. Doing this at the first sign of wear is far easier than chasing a leak that has already found its way inside.
Stay alert to early warning signs inside the rig
Inside the rig, stay alert to early warning signs. Soft spots on the ceiling, stains, a musty smell, or bubbling wall panels all suggest water is getting in. Catching these early can mean a simple reseal, while ignoring them can lead to structural repairs that cost thousands. Trust your nose and your eyes, and investigate anything that seems off.
Build roof care into your seasonal routine
Build roof care into your seasonal routine and it becomes a quick, reassuring habit rather than a dreaded chore. Inspect and clean a few times a year, reseal at the first sign of aging, and address interior clues immediately. With this simple discipline, your roof will keep the weather out for many years, protecting both your comfort and your investment.
Frequently asked questions
What kind of cleaner is safe for an RV rubber roof? A cleaner made specifically for your roof type, avoiding harsh solvents and petroleum based products on rubber roofs, since they can break down the membrane and shorten its life dramatically.
Where do RV roof leaks usually start? At penetration points like vents, the air conditioner, antennas, skylights, and edges, where sealant lives and can crack, peel, or pull away from the surface over time.
How often should RV roof sealant be reapplied? At the first sign of aging, when sealant dries, cracks, or shrinks, since resealing early is far easier than chasing a leak that has already found its way inside.
What are early warning signs of an RV roof leak? Soft spots on the ceiling, stains, a musty smell, or bubbling wall panels, all of which suggest water is getting in and should be investigated immediately before they become structural repairs.
Popular right now
- How to Fix an RV Water Pump That Runs but Delivers No WaterArticle
- Best RV Slide-Out CoversBuying guide
- Best RV Power CordsBuying guide
- Best RV Backup CamerasBuying guide
- Best RV Solar PanelsBuying guide
- Best RV GPSBuying guide
Based on the last 28 days of search and visitor data.