How to Level an RV
Published How we research

Correct side-to-side leveling first using leveling blocks under the low-side tires until a bubble level centers, then front-to-back using the tongue jack or front jacks, since lifting one side can slightly change the other. Find a flat, firm site first to minimize effort. Once level side-to-side, chock the wheels snugly before unhitching a trailer, which is critical for safety. Stabilizer jacks come last and are not the same as leveling jacks, since scissor stabilizers only stop bounce and sway rather than lift the rig. The whole routine takes just a few minutes with practice and the right blocks and level on hand. Leveling your RV is one of the first things you do at every campsite, and doing it well makes a real difference. A level rig sleeps better, its doors and slides work properly, and, importantly, its absorption fridge cools correctly. An RV parked at a steep angle can actually damage that style of fridge over time, so leveling is about protecting your rig as much as your comfort.
Products from this article
The highest-scoring picks from the buying guides this article links to. Scores are our editorial assessment, not customer ratings.
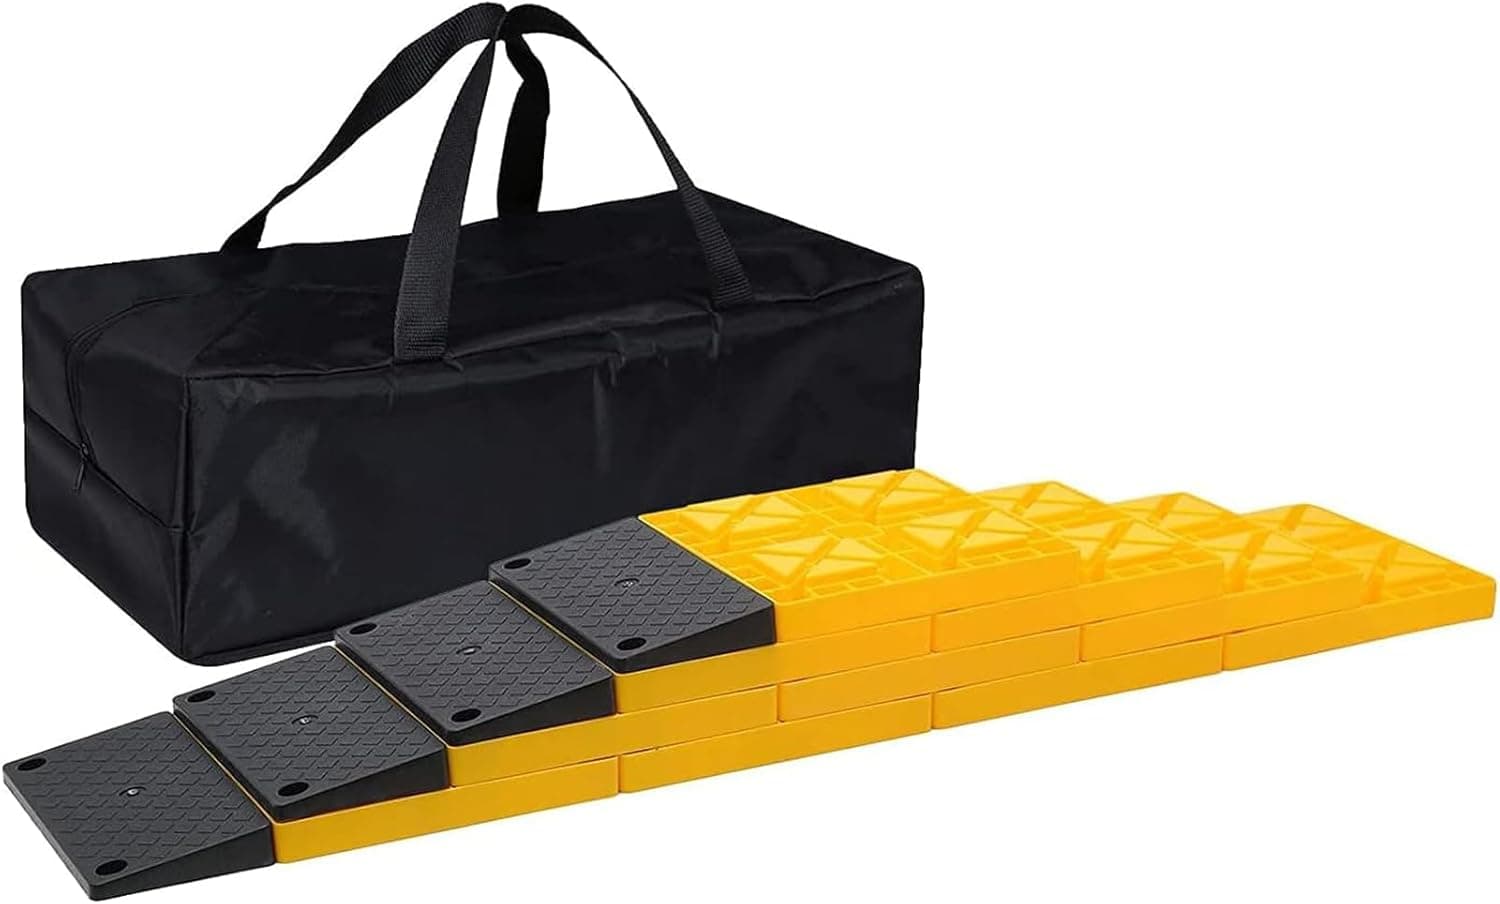
+ Ramp 4 Pack makes driving onto stacked blocks smoother
From our guide: Best RV Leveling Blocks
+ Fiberglass-free build avoids a common worry with cheap foam mattresses
From our guide: Best RV Mattresses
+ Set of 4 covers all corners of a travel trailer in one purchase
From our guide: Best RV Stabilizer Jacks
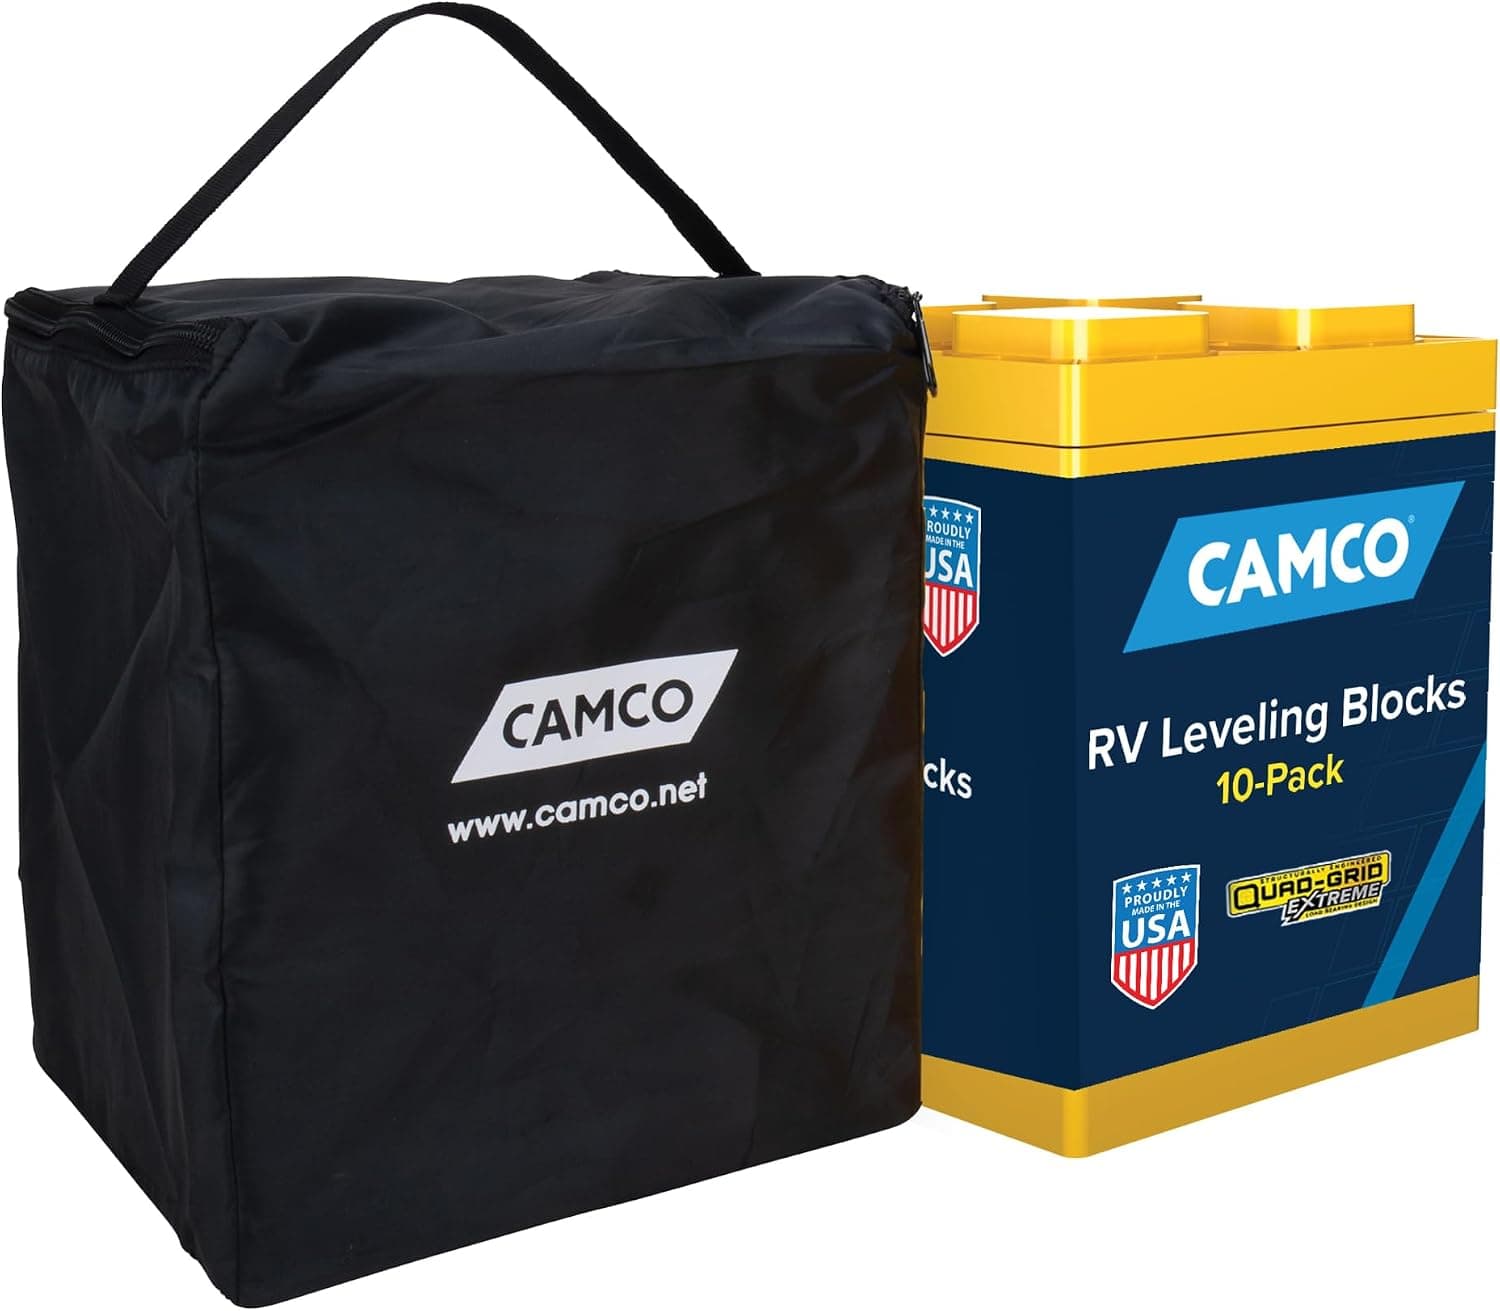
+ 10-Pack gives enough blocks to level tandem axles and jacks
From our guide: Best RV Leveling Blocks

Understand the two directions you need to correct
Start by understanding the two directions you need to correct. Side to side leveling raises one set of wheels so the rig is even across its width. Front to back leveling tips the nose up or down using your tongue jack on a trailer or the front jacks on a motorhome. You handle side to side first, then front to back, because lifting one side can slightly change the other.
Find a flat, firm spot and check your level
Begin by finding the flattest, firmest spot you reasonably can, since good site selection saves a lot of effort. Pull in, then check your level. A simple bubble level on the floor or counter works fine, and many people mount small levels on the exterior so they can read them while positioning the rig. Newer rigs may have a phone app or a built in display that does the same job.
Correct side to side with leveling blocks
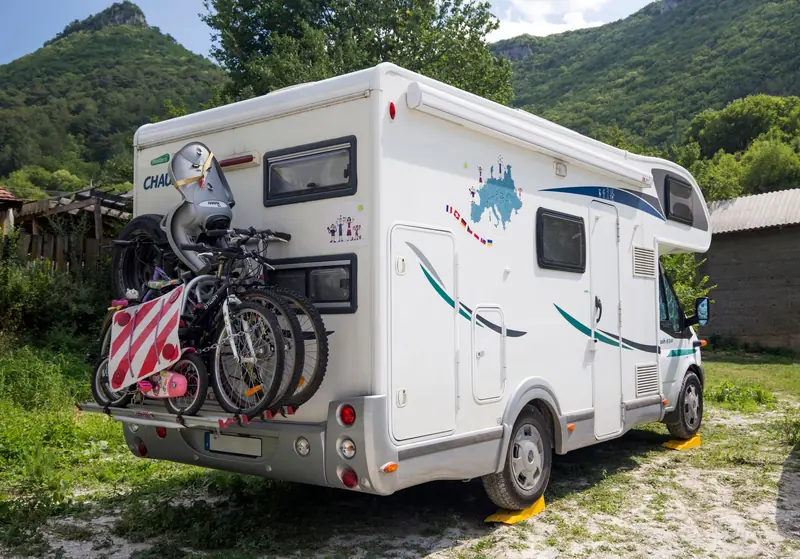
To correct side to side, place leveling blocks or a curved leveling ramp in front of or behind the low side tires, then drive gently up onto them until the bubble centers. Stacking blocks like interlocking bricks lets you dial in the exact height. Go slowly and have a helper watch the level if you can, so you do not overshoot and have to try again.
Chock the wheels before unhitching
Once the rig is even across its width, set your wheel chocks snugly against the tires so nothing can roll. This step matters most on a trailer that you are about to unhitch, because a rolling trailer is dangerous. With the chocks in place you can safely unhitch and move on to the front to back adjustment using the tongue jack or front leveling jacks.
Stabilizer jacks are the final touch, not the leveling tool
Stabilizer jacks are the final touch, and it helps to know they are not the same as leveling jacks. Scissor style stabilizers on many trailers are meant to stop bounce and sway, not to lift and level the rig. Lower them until they make firm contact and take up the wiggle, but do not crank them so hard that you lift the frame, which can bend or damage them.
The whole routine takes just a few minutes
With a little practice this whole routine takes just a few minutes. Keep a set of quality blocks, chocks, and a reliable level within easy reach so setup stays quick. A properly leveled rig protects your fridge, spares you that unsettling downhill roll when you sleep, and lets you get on with the fun part of camping.
Frequently asked questions
Which direction should you level an RV first, side-to-side or front-to-back? Side to side first, then front to back, because lifting one side can slightly change the other, so correcting the width first prevents having to redo the front-back adjustment.
Why does an RV need to be level? A level rig sleeps better, doors and slides work properly, and importantly, an absorption fridge cools correctly, since an RV parked at a steep angle can actually damage that style of fridge over time.
Are stabilizer jacks the same as leveling jacks? No, scissor style stabilizers on many trailers are meant to stop bounce and sway, not to lift and level the rig, and cranking them too hard to lift the frame can bend or damage them.
When should you chock an RV's wheels while leveling? After correcting side to side but before unhitching a trailer, since a rolling trailer is dangerous and chocks placed snugly against the tires prevent that.
Popular right now
- How to Fix an RV Water Pump That Runs but Delivers No WaterArticle
- Best RV Slide-Out CoversBuying guide
- Best RV Power CordsBuying guide
- Best RV Backup CamerasBuying guide
- Best RV Solar PanelsBuying guide
- Best RV GPSBuying guide
Based on the last 28 days of search and visitor data.